Azure DevOps Pipeline for GitHub Open Source Projects
Microsoft announced today that they have a ‘new’ product: Azure DevOps! With that announcement came another one: Azure DevOps pipelines for GitHub open source projects with unlimited minutes! I wanted to see what the integration with GitHub would look like, so I tried it out.
Note: of course, you could already create pipelines for GitHub repo’s, but only inside of a VSTS account and not with unlimited build/release minutes! If you had you own private agent installation, you could build with that.
Now all open source projects can utilize the Azure DevOps pipelines!
Here are the steps you’d take to add a new pipeline from a GitHub repository.
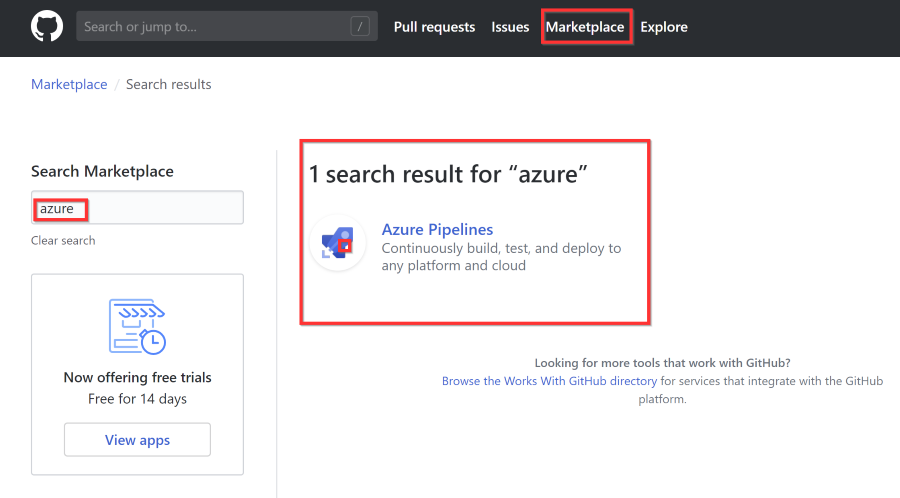
From your GitHub repo, go to MarketPlace and search for Azure. The marketplace entry is named Azure Pipelines:
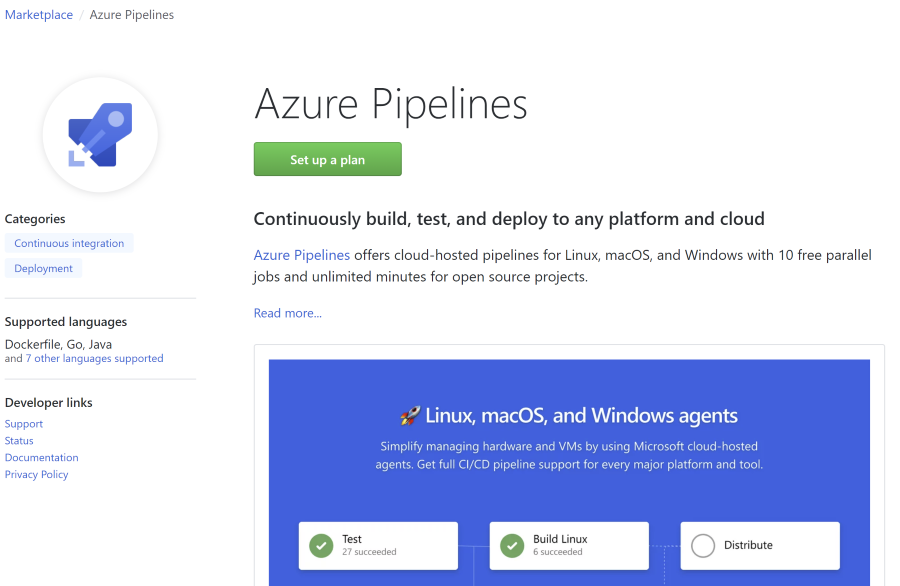
Click on Set up a plan:
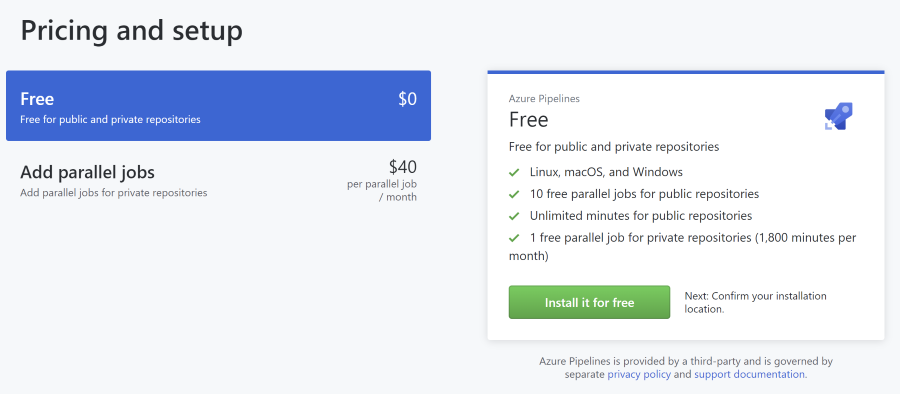
Choose Free:
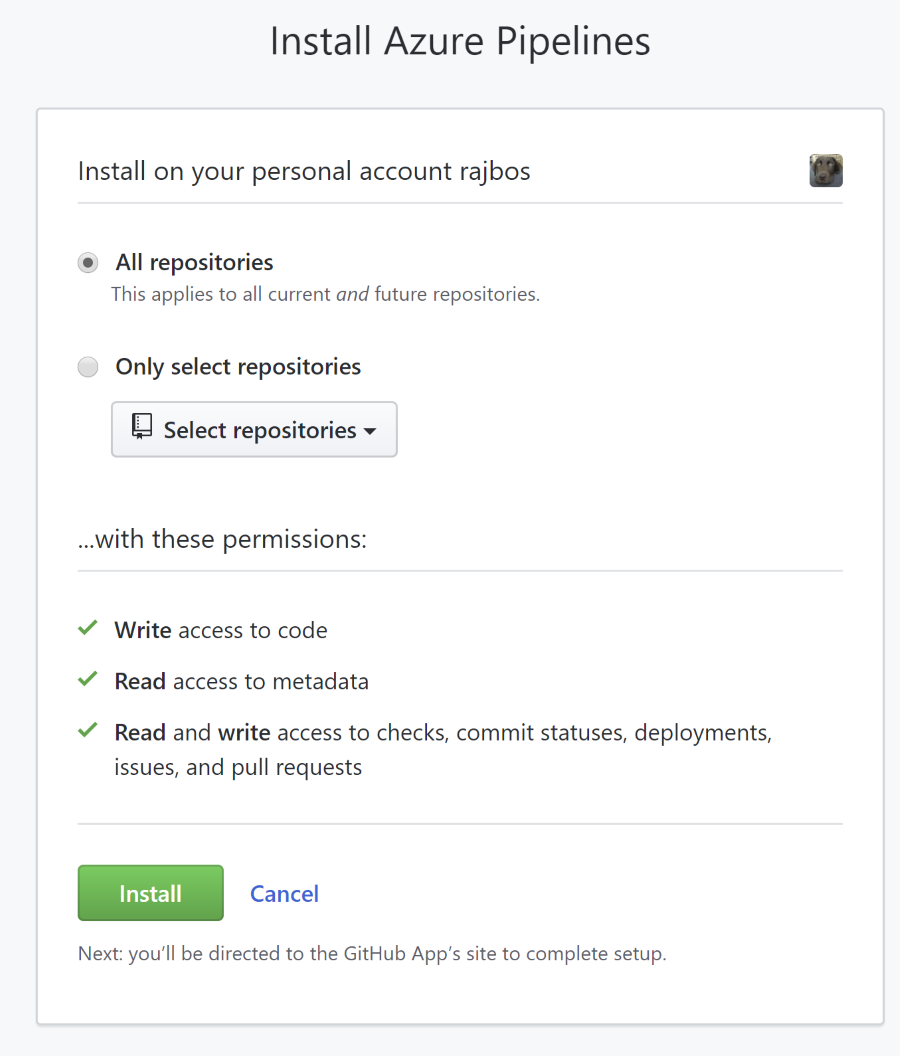
Choose to what repositories you want to enable a pipeline for. I have picked a .NET tool that I created to talk to VSTS.
One more authentication in GitHub to make sure you have the rights to enable the market place integration and you get send to Azure DevOps.
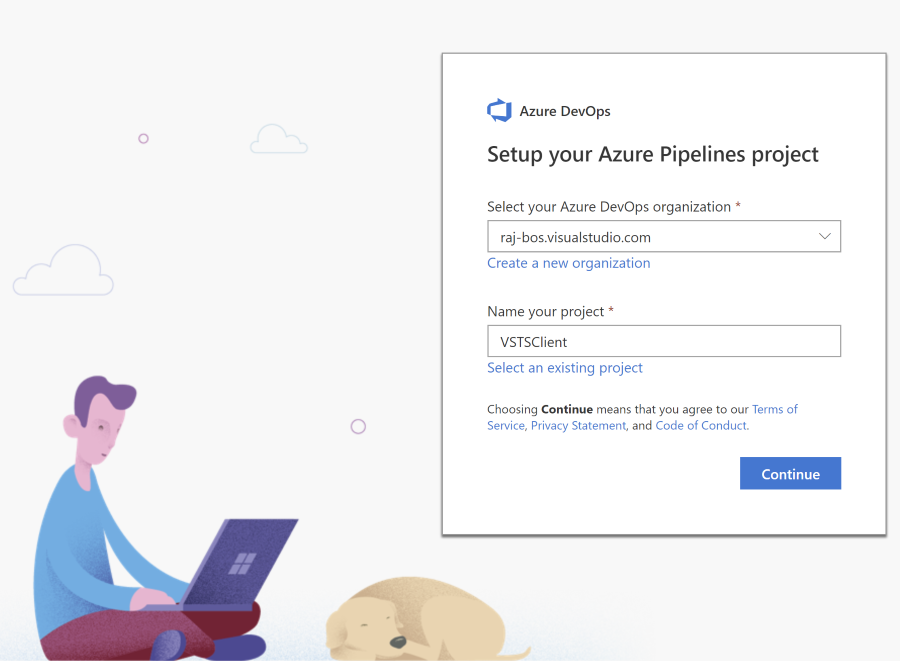
You are now in an editor to setup a new Azure DevOps account. If you already have one, you can choose that:
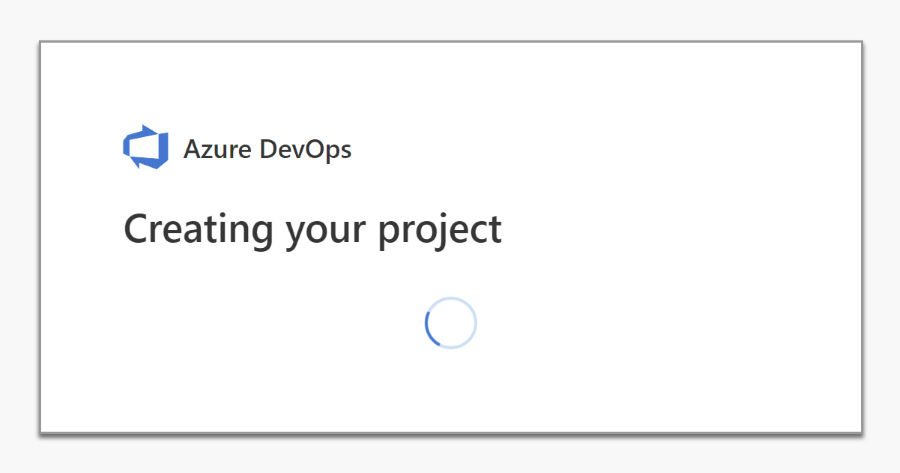
Next, Azure DevOps starts creating your project.
It will ask you which repository you want to use.
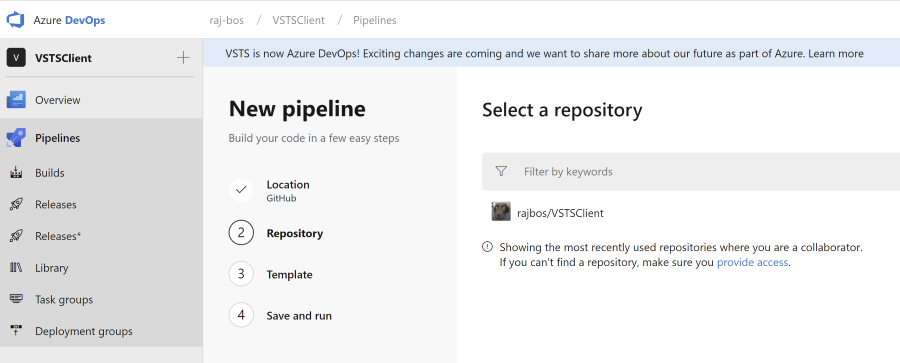
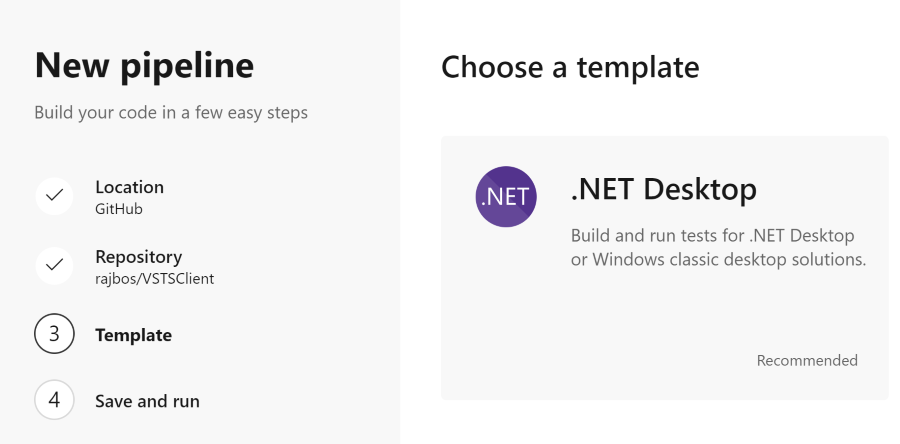
It detects the kind of project in the repository and gives you a default option based on that. You can choose other options, but I’ll just go with the .NET desktop build for this project, because that is what this project is.
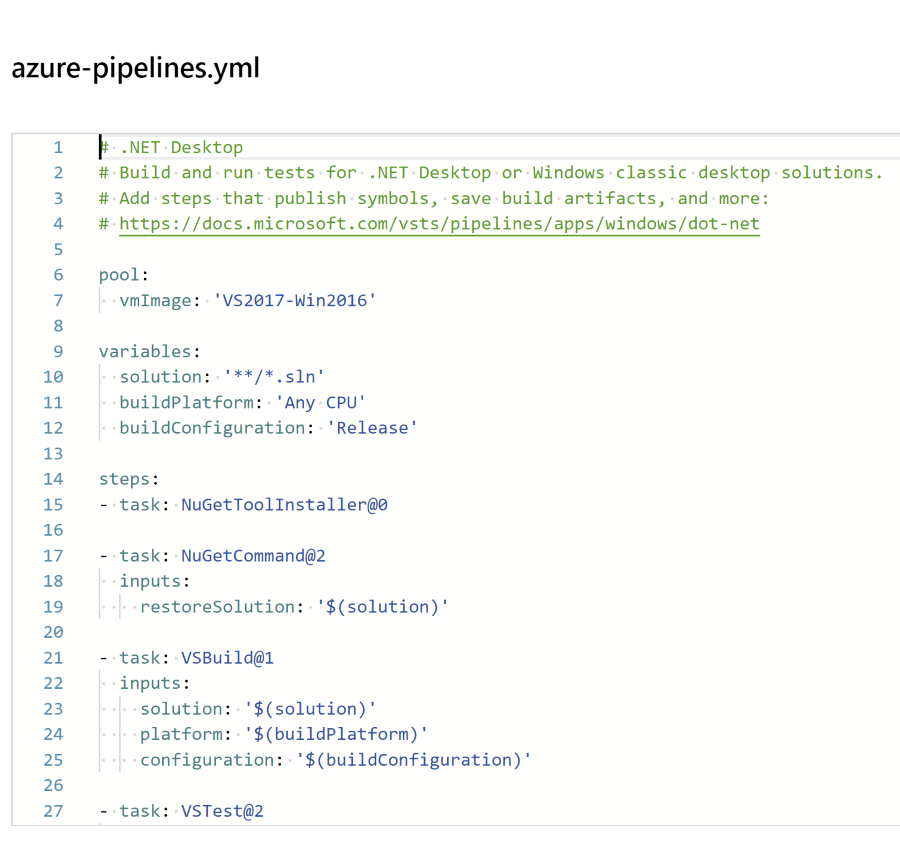
A yaml file is created for your (named azure-pipelines.yml) which will be saved inside of your repository: that also means you now have a two-way binding between GitHub and Azure DevOps: it can also write changes back to the GitHub repository.
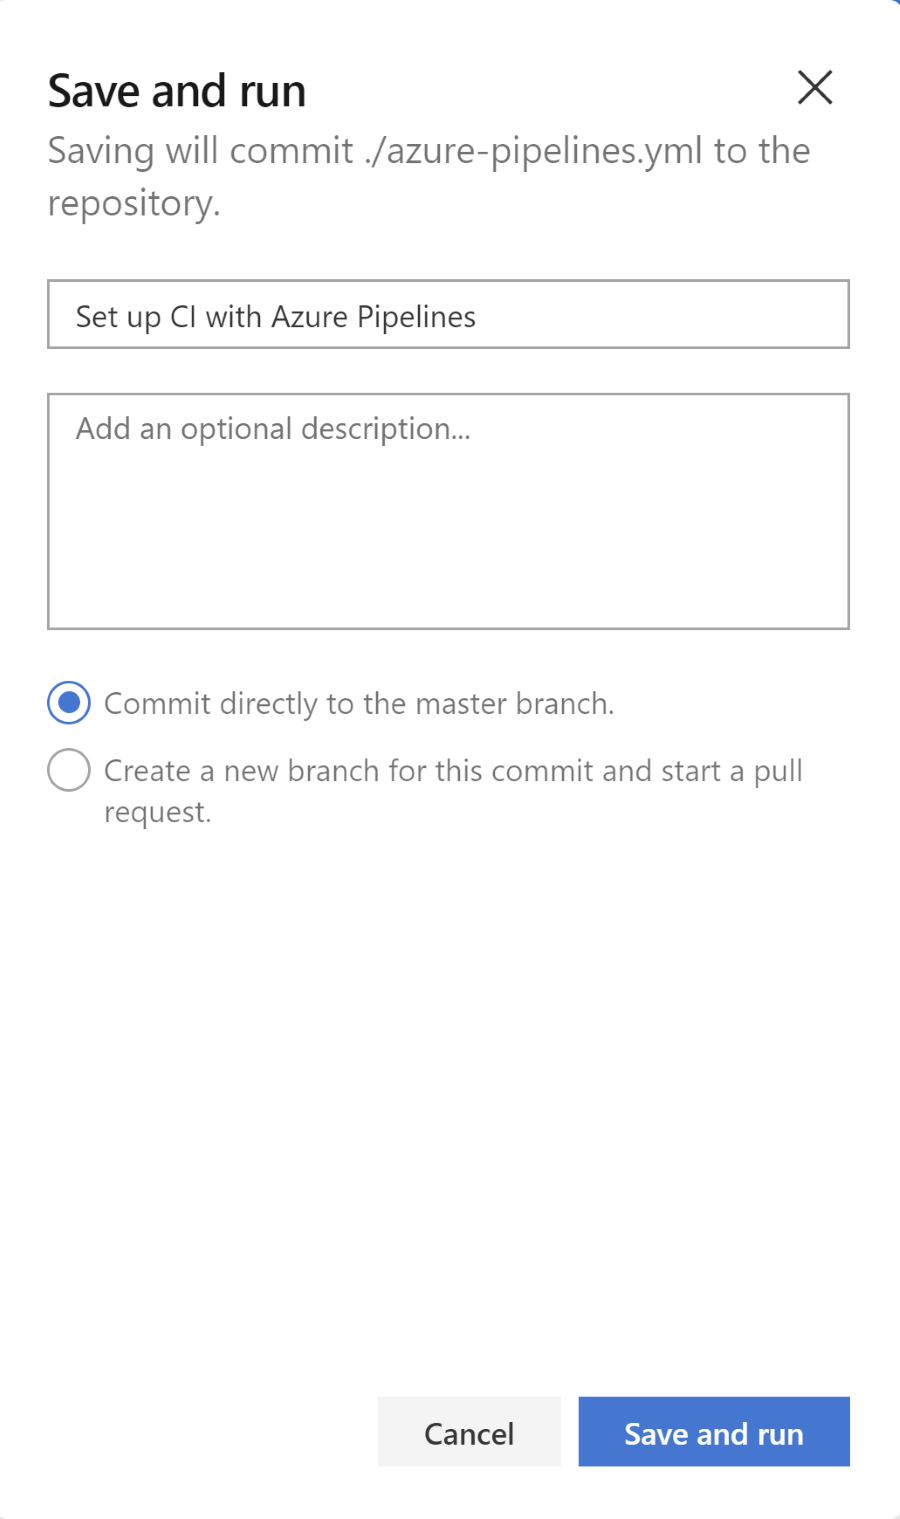
Save and run does exactly what is says, and if left with the default setting, will commit the new yml file to the chosen repository:
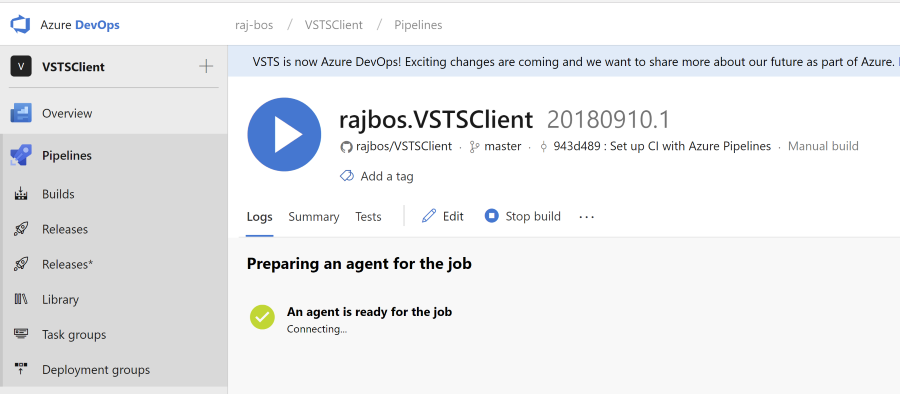
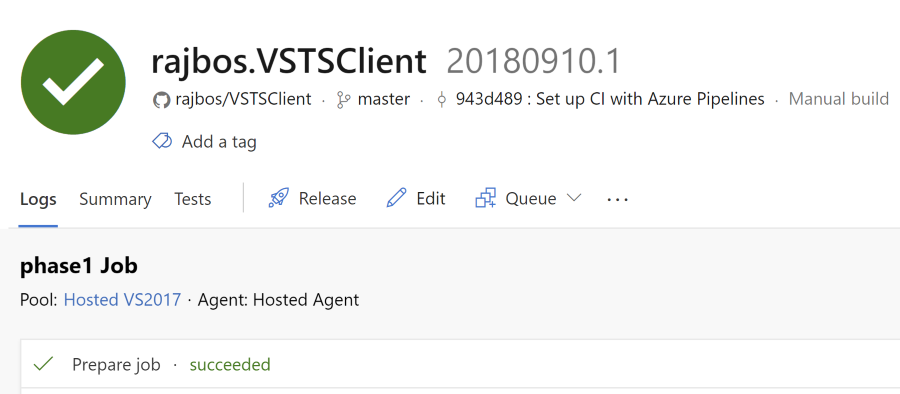
Now we have a running pipeline (free of charge! how nice is that!).
After the build is done and it succeeded, you get a summary page:
Status badge
If you want to show your build status on a project page, you can also get the build status badge for the project, right from Azure DevOps.
Note: you could do that for any project before.
Go to the build definition, find the menu, go to status badge:
![]()
And copy the necessary code/markdown into the place you want to show it.
![]()
And the end result inside the readme of my repository:
![]()
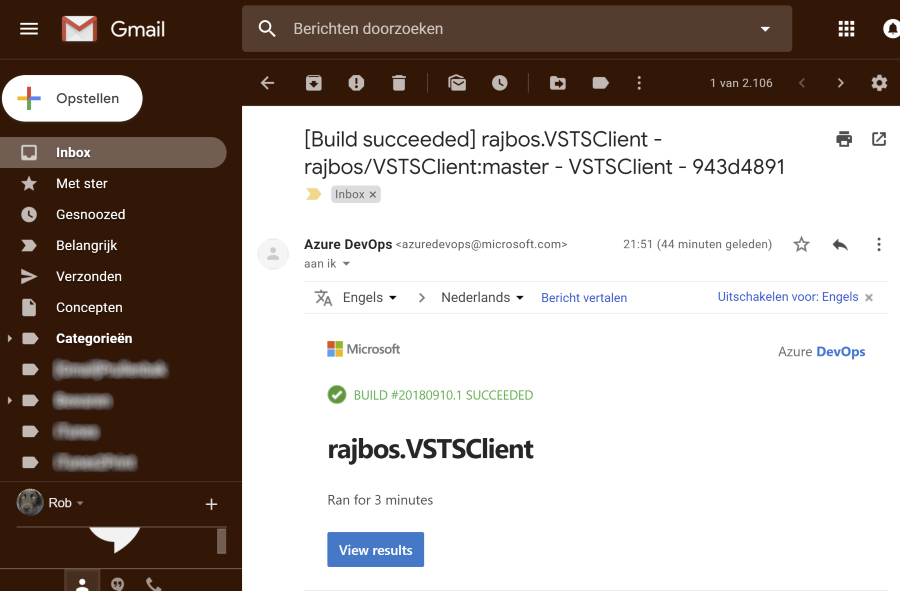
Email notification
Because I have an email address connected to my GitHub account, I also receive pipeline notifications by email:
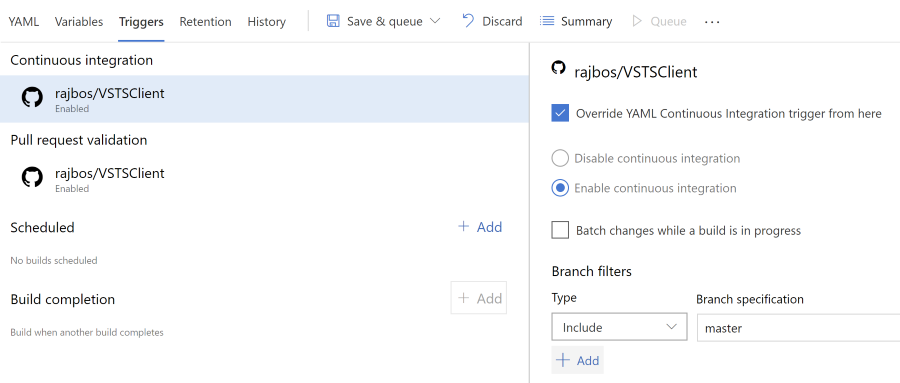
Triggers
You have all the regular options for your pipeline available. For example: the new Azure DevOps project has been provisioned with a continuous integration trigger: this way, each commit will trigger a new build and will let the committer know how the build went.
Want more?
Since you now have an Azure DevOps project available, you can also enable other features for this project. This way you can leverage the powerful options Azure DevOps gives you.
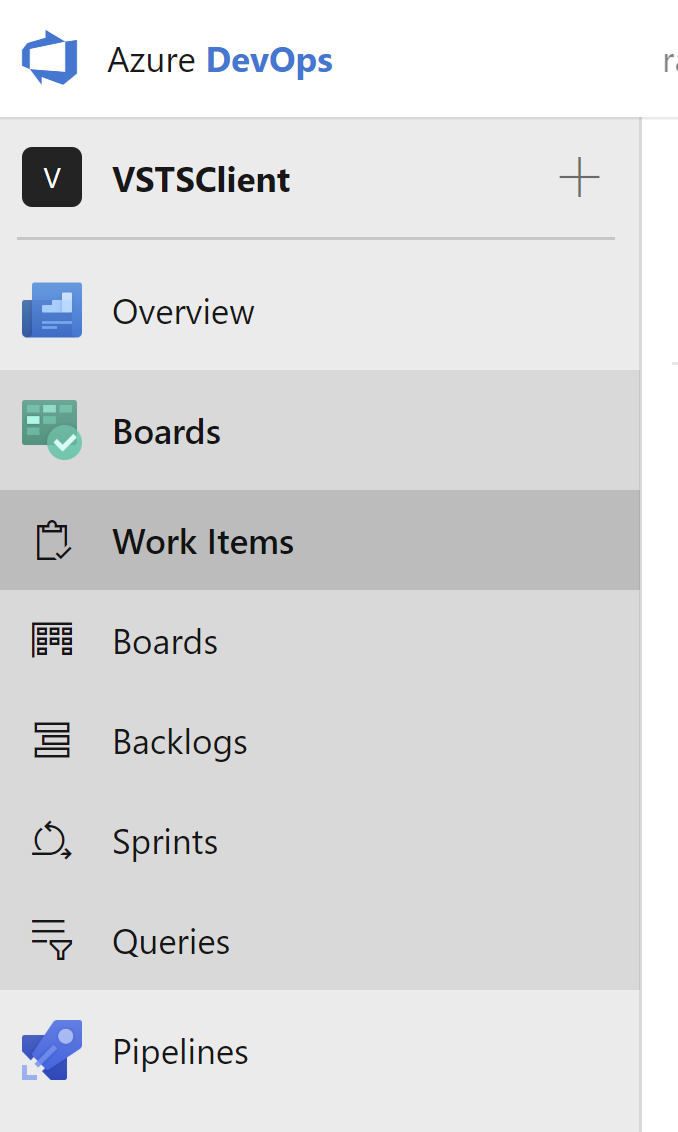
Go to Project settings–> Services and enable the services you like to use.
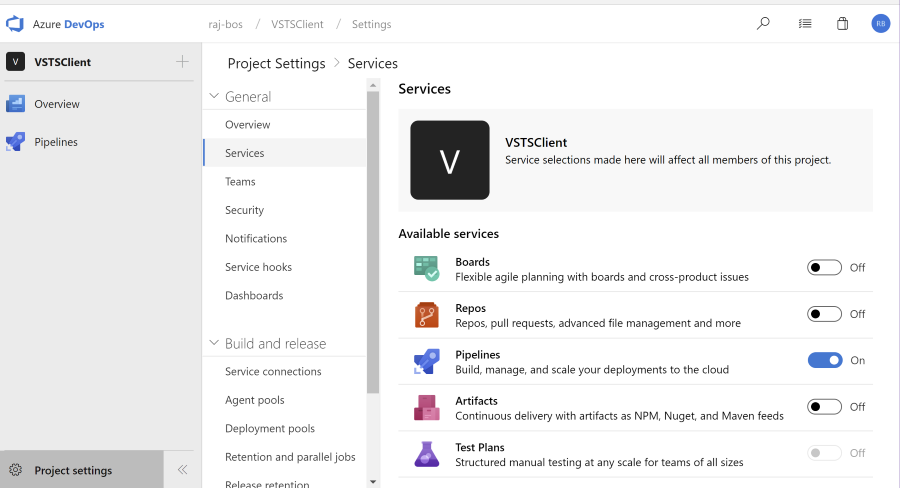
Reload the page and the enabled services are available. Here I enabled the Boards service: